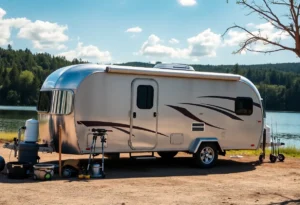
Owning a sport fishing trailer provides a seamless solution for transporting boats to and from the water. However, a custom winch system can further elevate the ease of loading and unloading, allowing you to manage your boat confidently, even in tricky conditions. In this guide, we’ll walk through selecting the right winch system for your sport fishing trailer and provide straightforward steps for installation.
Why Choose a Custom Winch System?
A custom winch system offers a range of benefits, such as:
- Effortless Loading and Unloading: Particularly helpful in low tide, choppy waters, or other challenging situations.
- Better Control: Avoid strain on your boat and trailer by ensuring controlled movement during launch and retrieval.
- Enhanced Safety: With the right winch, you minimize potential accidents, injuries, and wear on your boat.
Choosing the right winch will depend on factors such as your boat’s weight, the winch’s power source, and your typical use environment. Let’s dive into each step to get you equipped and ready.
Step 1: Choosing the Right Winch
When selecting a winch for your trailer, consider the following:
1. Weight Capacity
- Your winch should be capable of handling your boat’s weight. This is often specified in the product description. Ensure you choose a winch that can handle at least 1.5 times the weight of your boat for safe, reliable operation.
2. Manual vs. Electric Winch
- A manual winch can be a great option for smaller boats and when simplicity is preferred. They are low-maintenance and provide excellent control.
- An electric winch is ideal if you have a larger boat or want to avoid exertion. These winches run on a power source and often come with remote control options, making them perfect for solo boaters.
3. Corrosion Resistance
- Choose a winch made with marine-grade components that resist corrosion, a must-have feature for any saltwater environment.
Step 2: Gathering Your Installation Tools and Materials
Before starting installation, make sure you have these tools on hand:
- Mounting bracket and bolts (often included with the winch)
- Socket wrench set
- Measuring tape
- Screwdriver set
- Drill with metal drill bits
- Thread-locking compound (to secure bolts)
Step 3: Prepping the Trailer
- Choose the Mounting Location
- Select a spot on the trailer tongue or winch post where you have easy access and adequate room to operate the winch. It should align well with the boat’s bow eye to ensure smooth pulling and release.
- Mark the Drilling Points
- Once you’ve chosen the ideal location, use your winch’s mounting bracket to mark the spots where bolts will secure the winch. Carefully measure to ensure the winch will sit level and align with the boat’s bow eye.
Step 4: Drilling and Mounting the Winch
- Drill Pilot Holes
- Use your drill to make pilot holes at each mark. This will make it easier to install the mounting bolts and provide a snug fit. Be cautious and ensure your drill bit is sized correctly to match the bolts.
- Mount the Winch
- Position the winch and secure it with bolts. Apply a thread-locking compound to the bolts before tightening, which will prevent loosening from trailer vibrations. Tighten each bolt securely with your socket wrench.
- Check the Positioning
- Once mounted, ensure the winch aligns perfectly with the bow eye. You want a straight line between the winch and the bow to minimize strain and maximize efficiency.
Step 5: Attaching the Cable or Strap
- Install the Cable or Strap
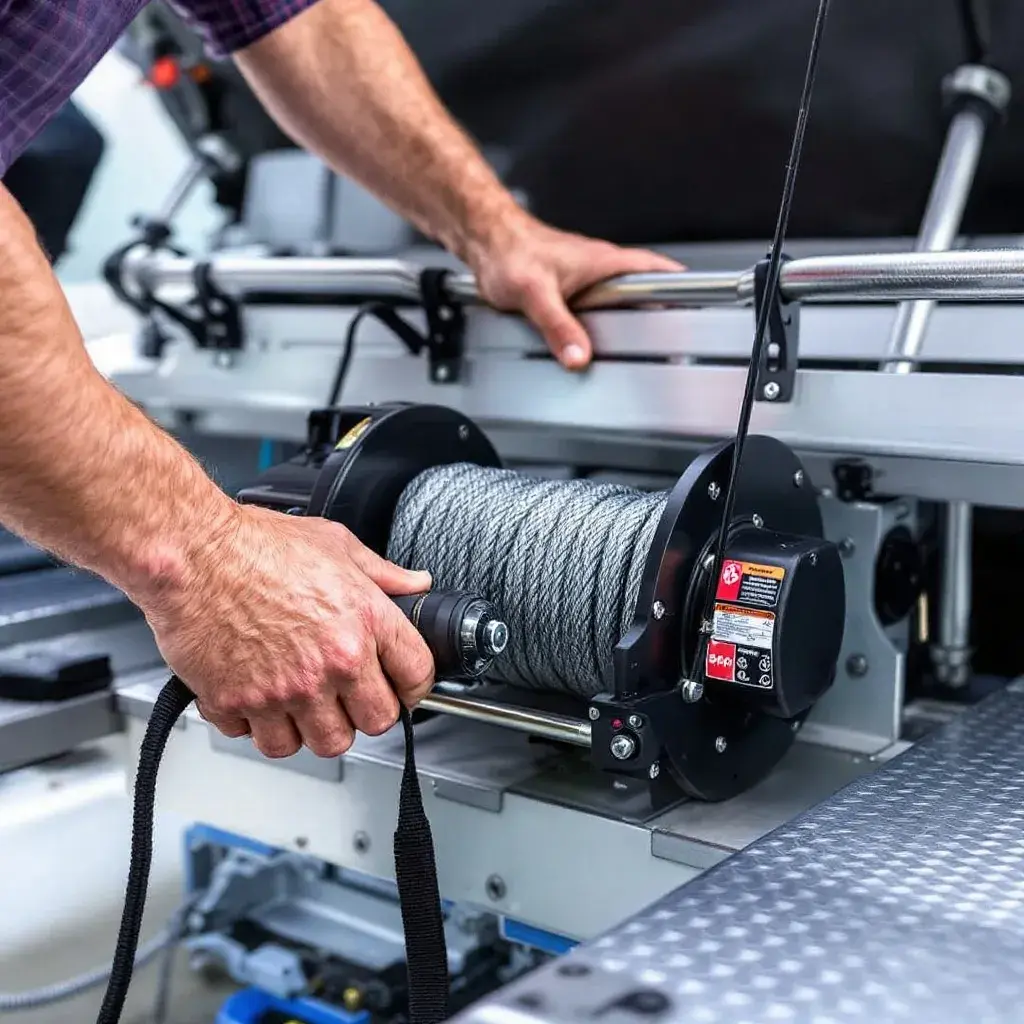
- Follow the winch manufacturer’s instructions to attach the winch cable or strap. Make sure it’s wound evenly and securely around the winch drum, as a loosely wound cable can cause binding and affect smooth operation.
- Attach to the Bow Eye
- Test the connection between the cable hook and your boat’s bow eye. Ensure the hook fits properly and that the cable length allows easy reach from the winch to the boat.
Step 6: Testing the Winch System
Before you hit the road with your newly equipped trailer, take the time to perform a full functionality test:
- Load and Unload Test
- Practice loading and unloading your boat in a controlled environment. For electric winches, make sure your power connection works smoothly and that remote controls (if applicable) function correctly.
- Inspect for Security
- Double-check all bolts and connections to ensure everything is secure. You want to verify that nothing has loosened during testing, and that the winch mount is stable.
Final Tips for Optimal Use
- Regular Maintenance: Inspect your winch regularly, especially if you use it in saltwater environments. Check for corrosion or wear, and lubricate moving parts as needed.
- Safety First: Always keep hands and fingers away from the cable while the winch is operating. Avoid standing directly in the winch’s line to prevent injury if the cable were to snap.
- Practice Makes Perfect: Spend some time familiarizing yourself with the winch system, so you can handle it smoothly even in challenging conditions.
Conclusion
Installing a custom winch system on your sport fishing trailer is an upgrade that enhances convenience, control, and safety during boat transport. With the right preparation, tools, and careful installation, your trailer will be equipped to handle even the toughest loading and unloading scenarios. So, whether you’re a solo fisherman or looking for hassle-free launches, a well-chosen winch system makes all the difference.
Happy fishing and safe boating!

